Appearance
Webflow
Pirsch can easily be integrated into Webflow in just a few minutes. In this article, you'll learn how to set it up and how to track events using custom attributes.
INFO
If you have a Webflow site with a template that has "e-commerce" features, even if not used, Pirsch may not work.
The Demo Site
The demo site is very simple. It just has a single page and a button. Clicking the button will track a custom event that we will see later on the dashboard.

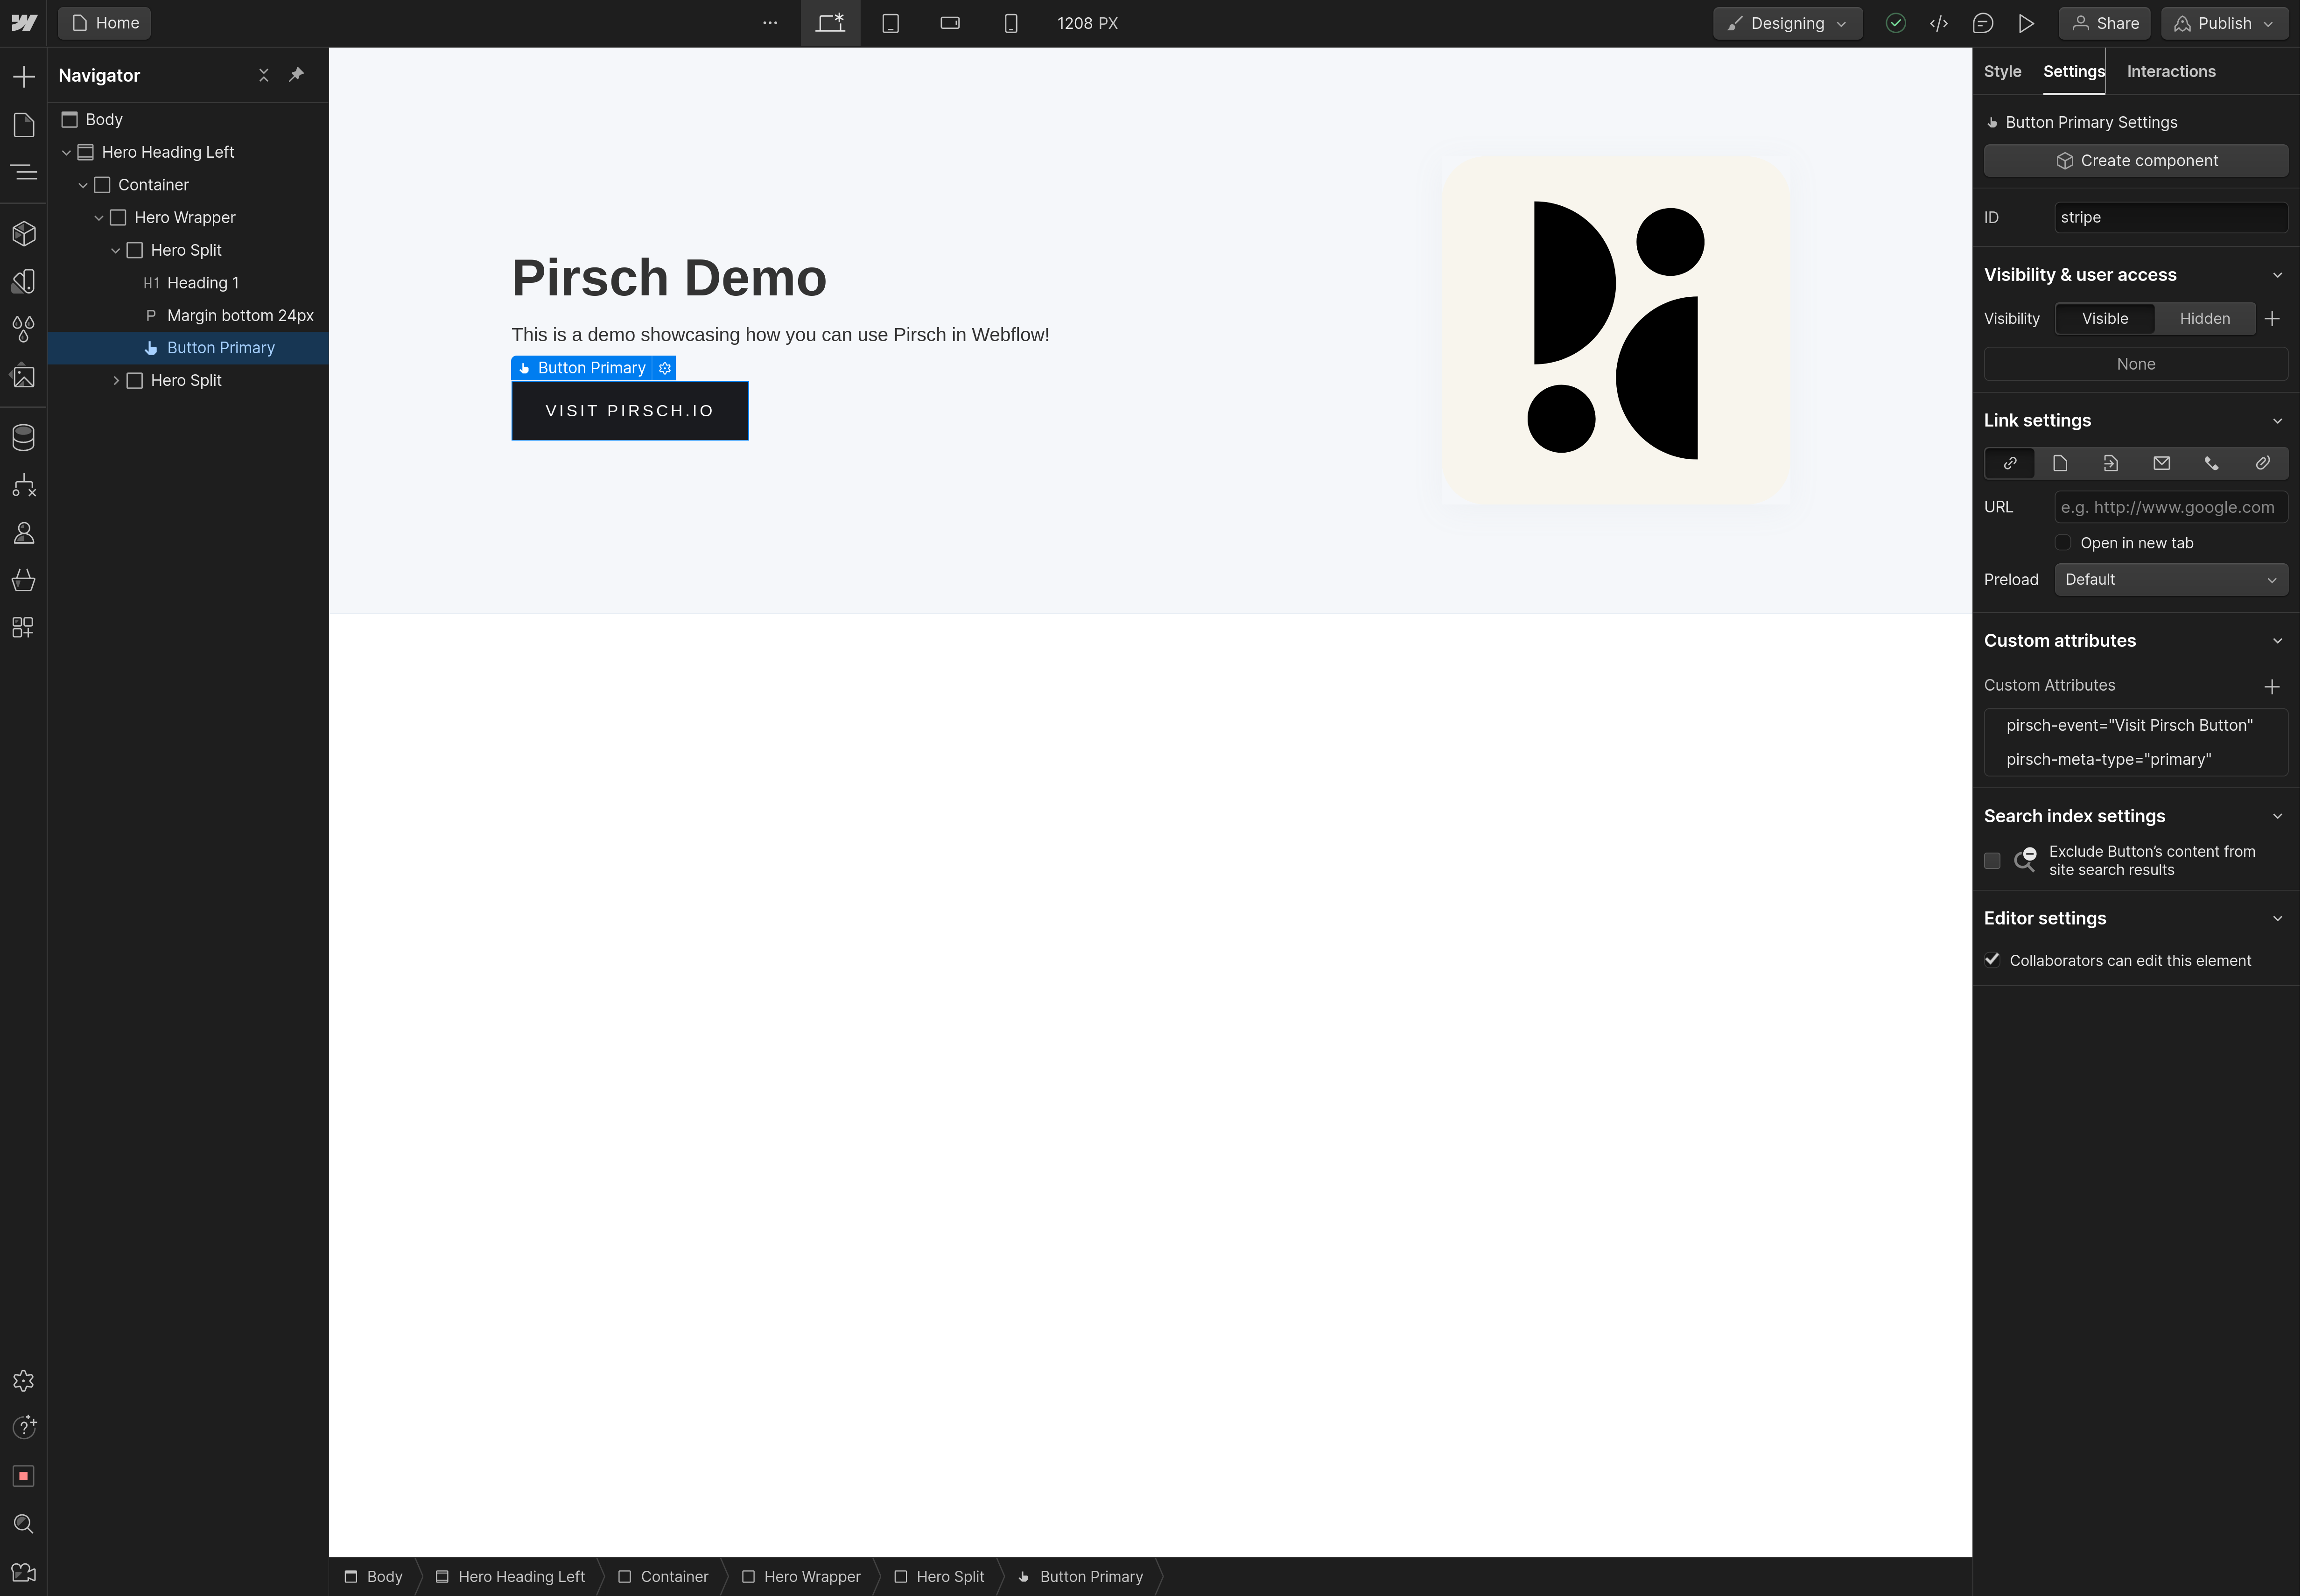
This is how the page looks in the Designer.

Adding the Script to Webflow
Before we can integrate Pirsch with Webflow, you will need to set up a dashboard on Pirsch. If you're testing your Webflow site, please use the test domain (something.webflow.io). If you're using a custom domain, use that instead. The domain on the Pirsch dashboard must match your Webflow domain. You can also use additional domains to set up both at the same time. The domain can later be changed in the settings if needed.
Once the dashboard has been created, copy your personal code snippet from the integration settings or select it from the confirmation page.
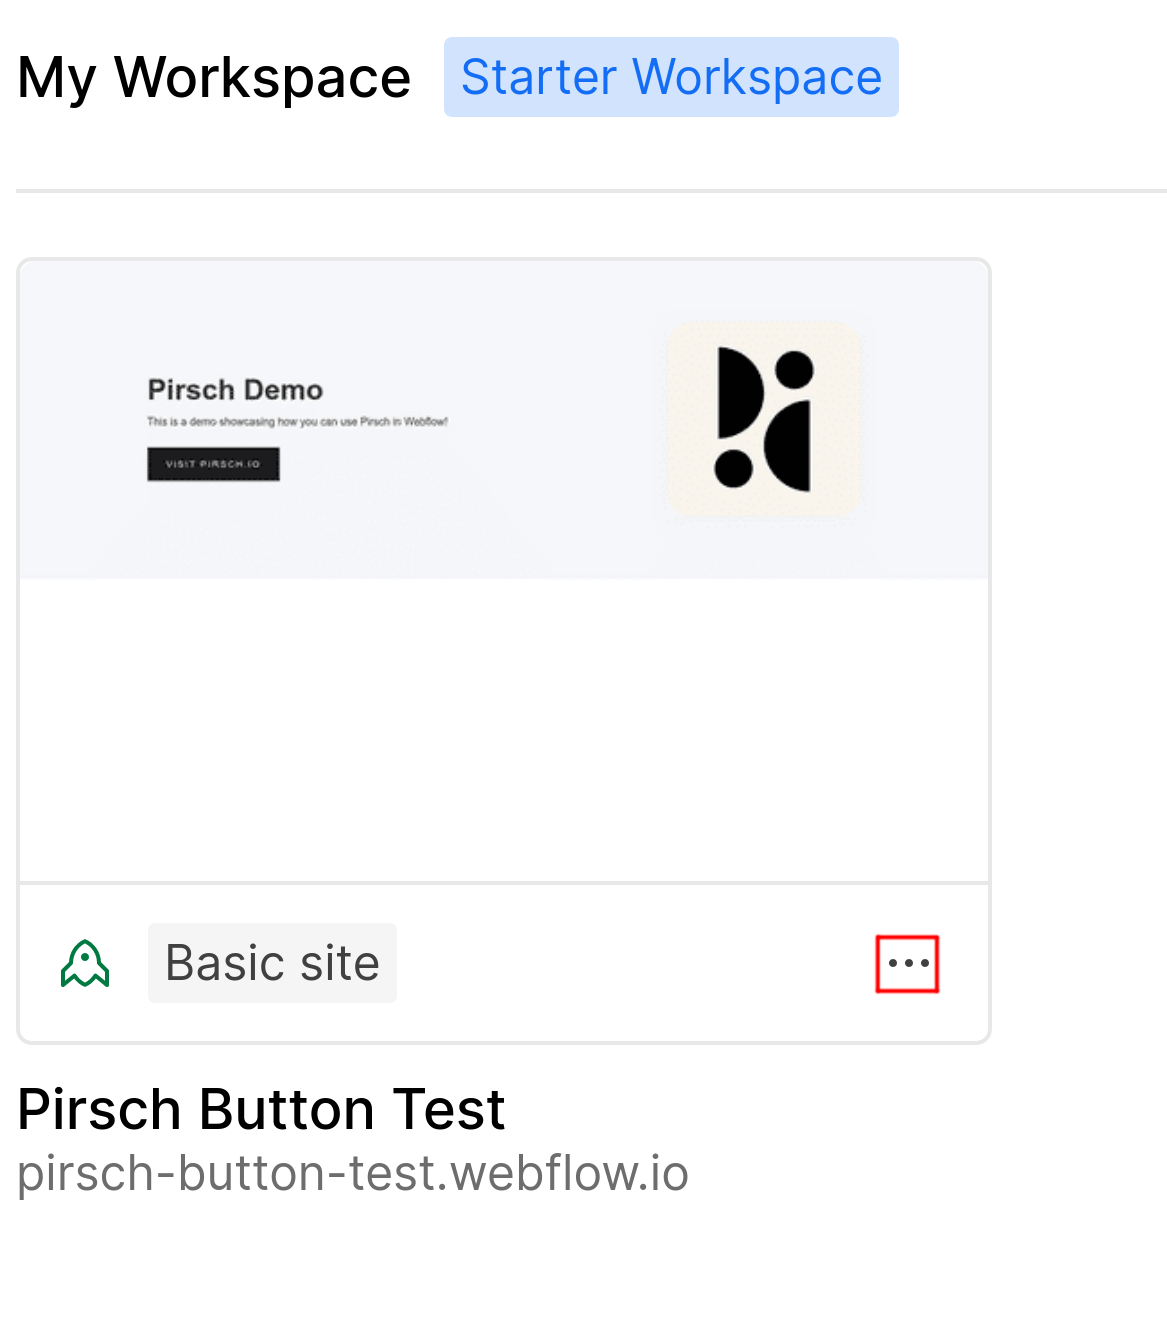
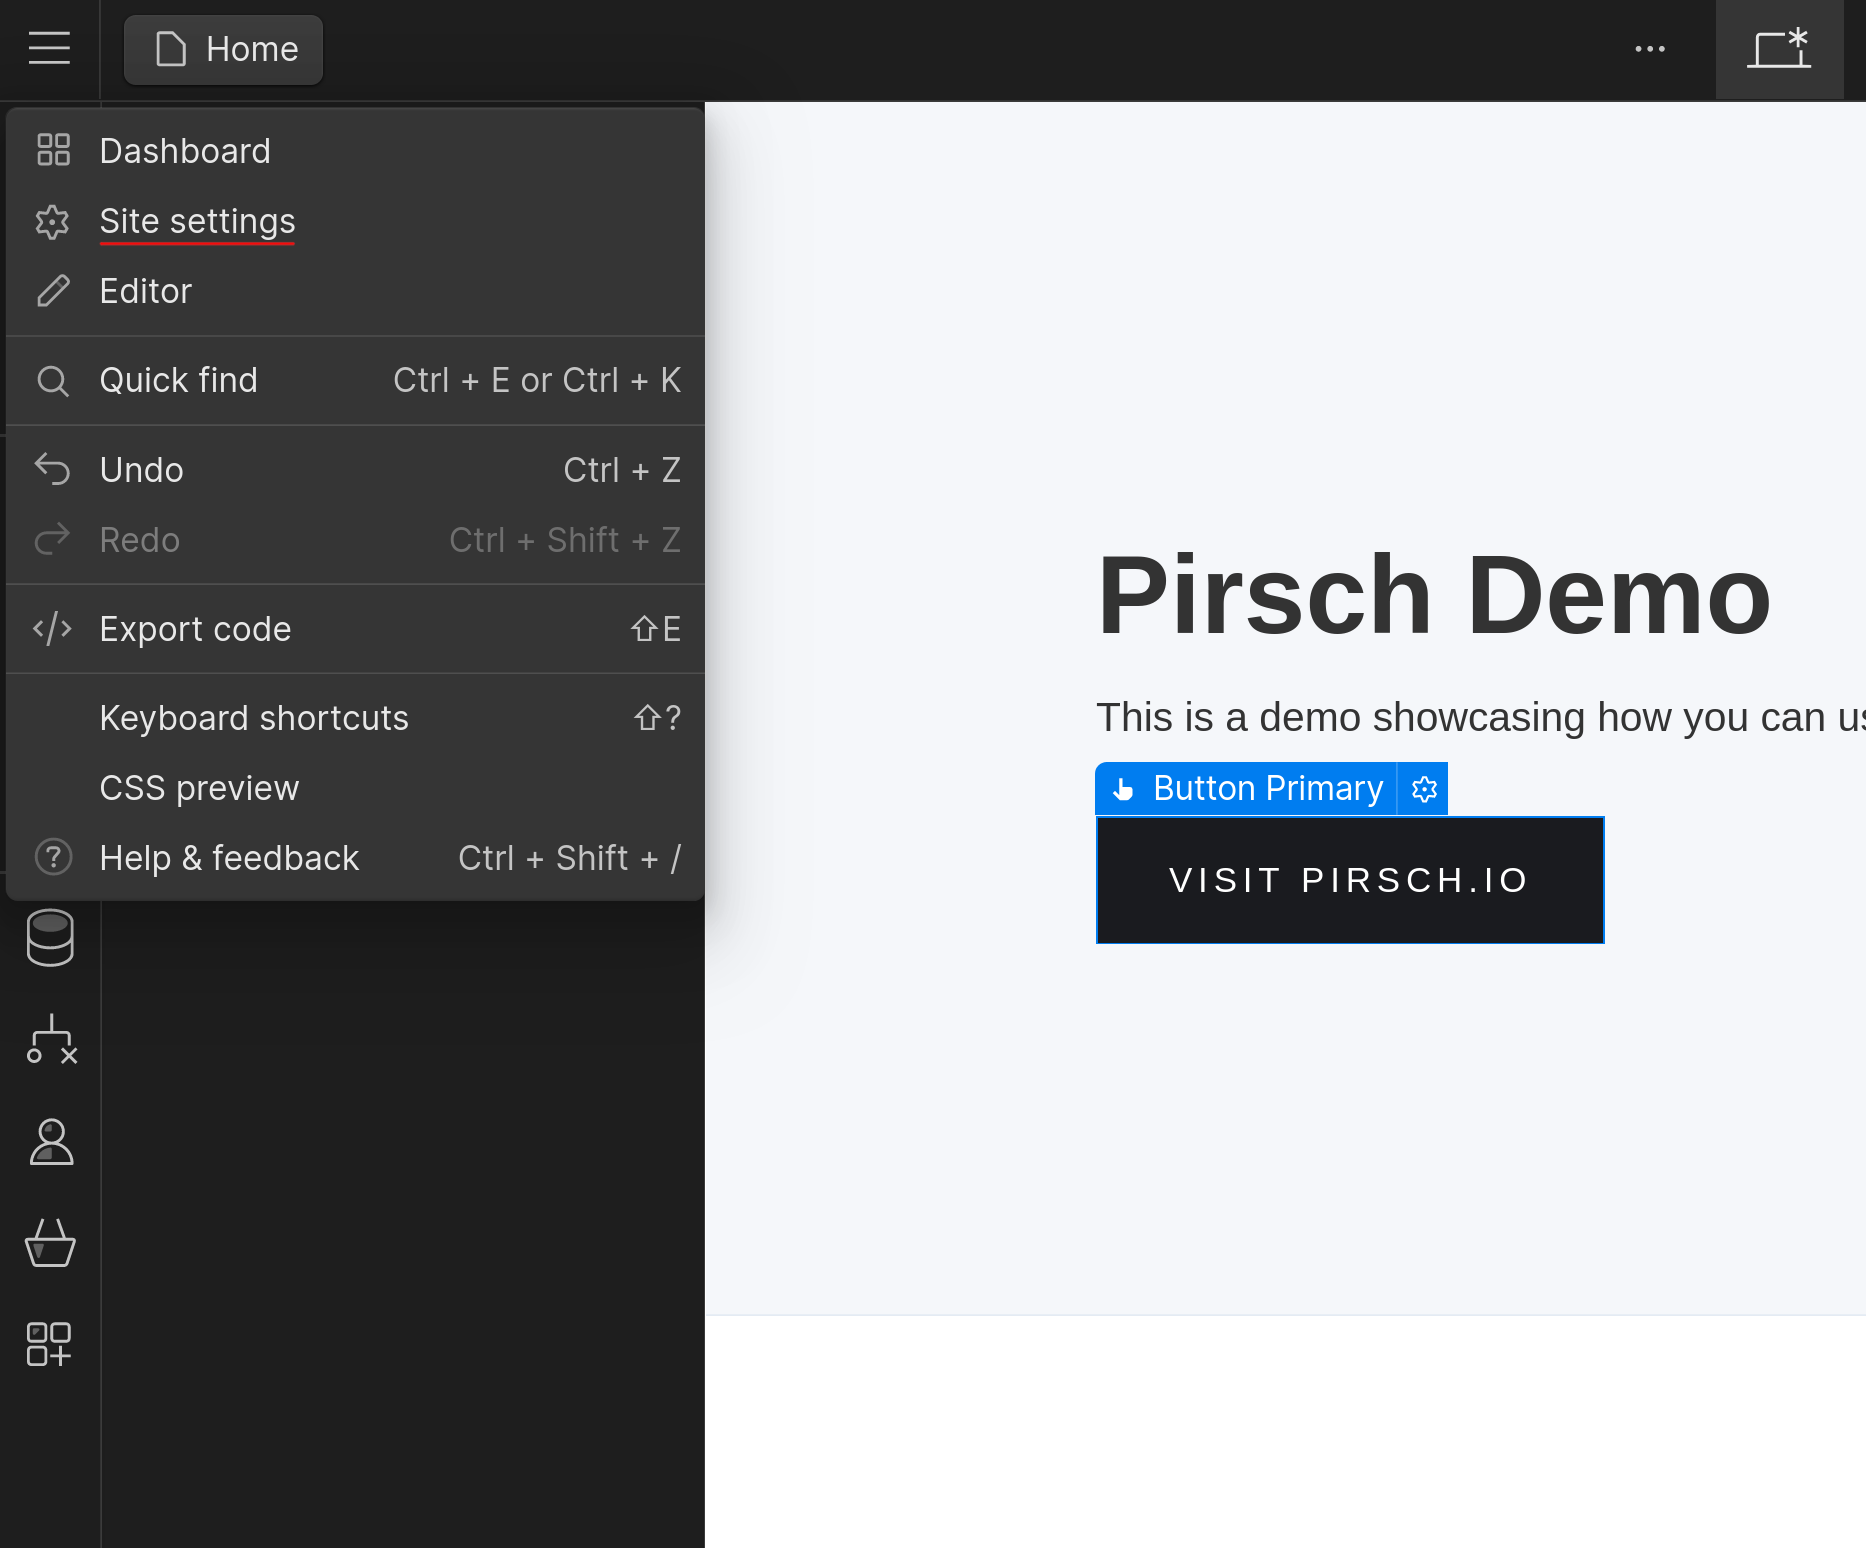
In your Webflow project, go to Site settings > Custom code. You can open it from the dashboard (three dots) or from the top left menu.
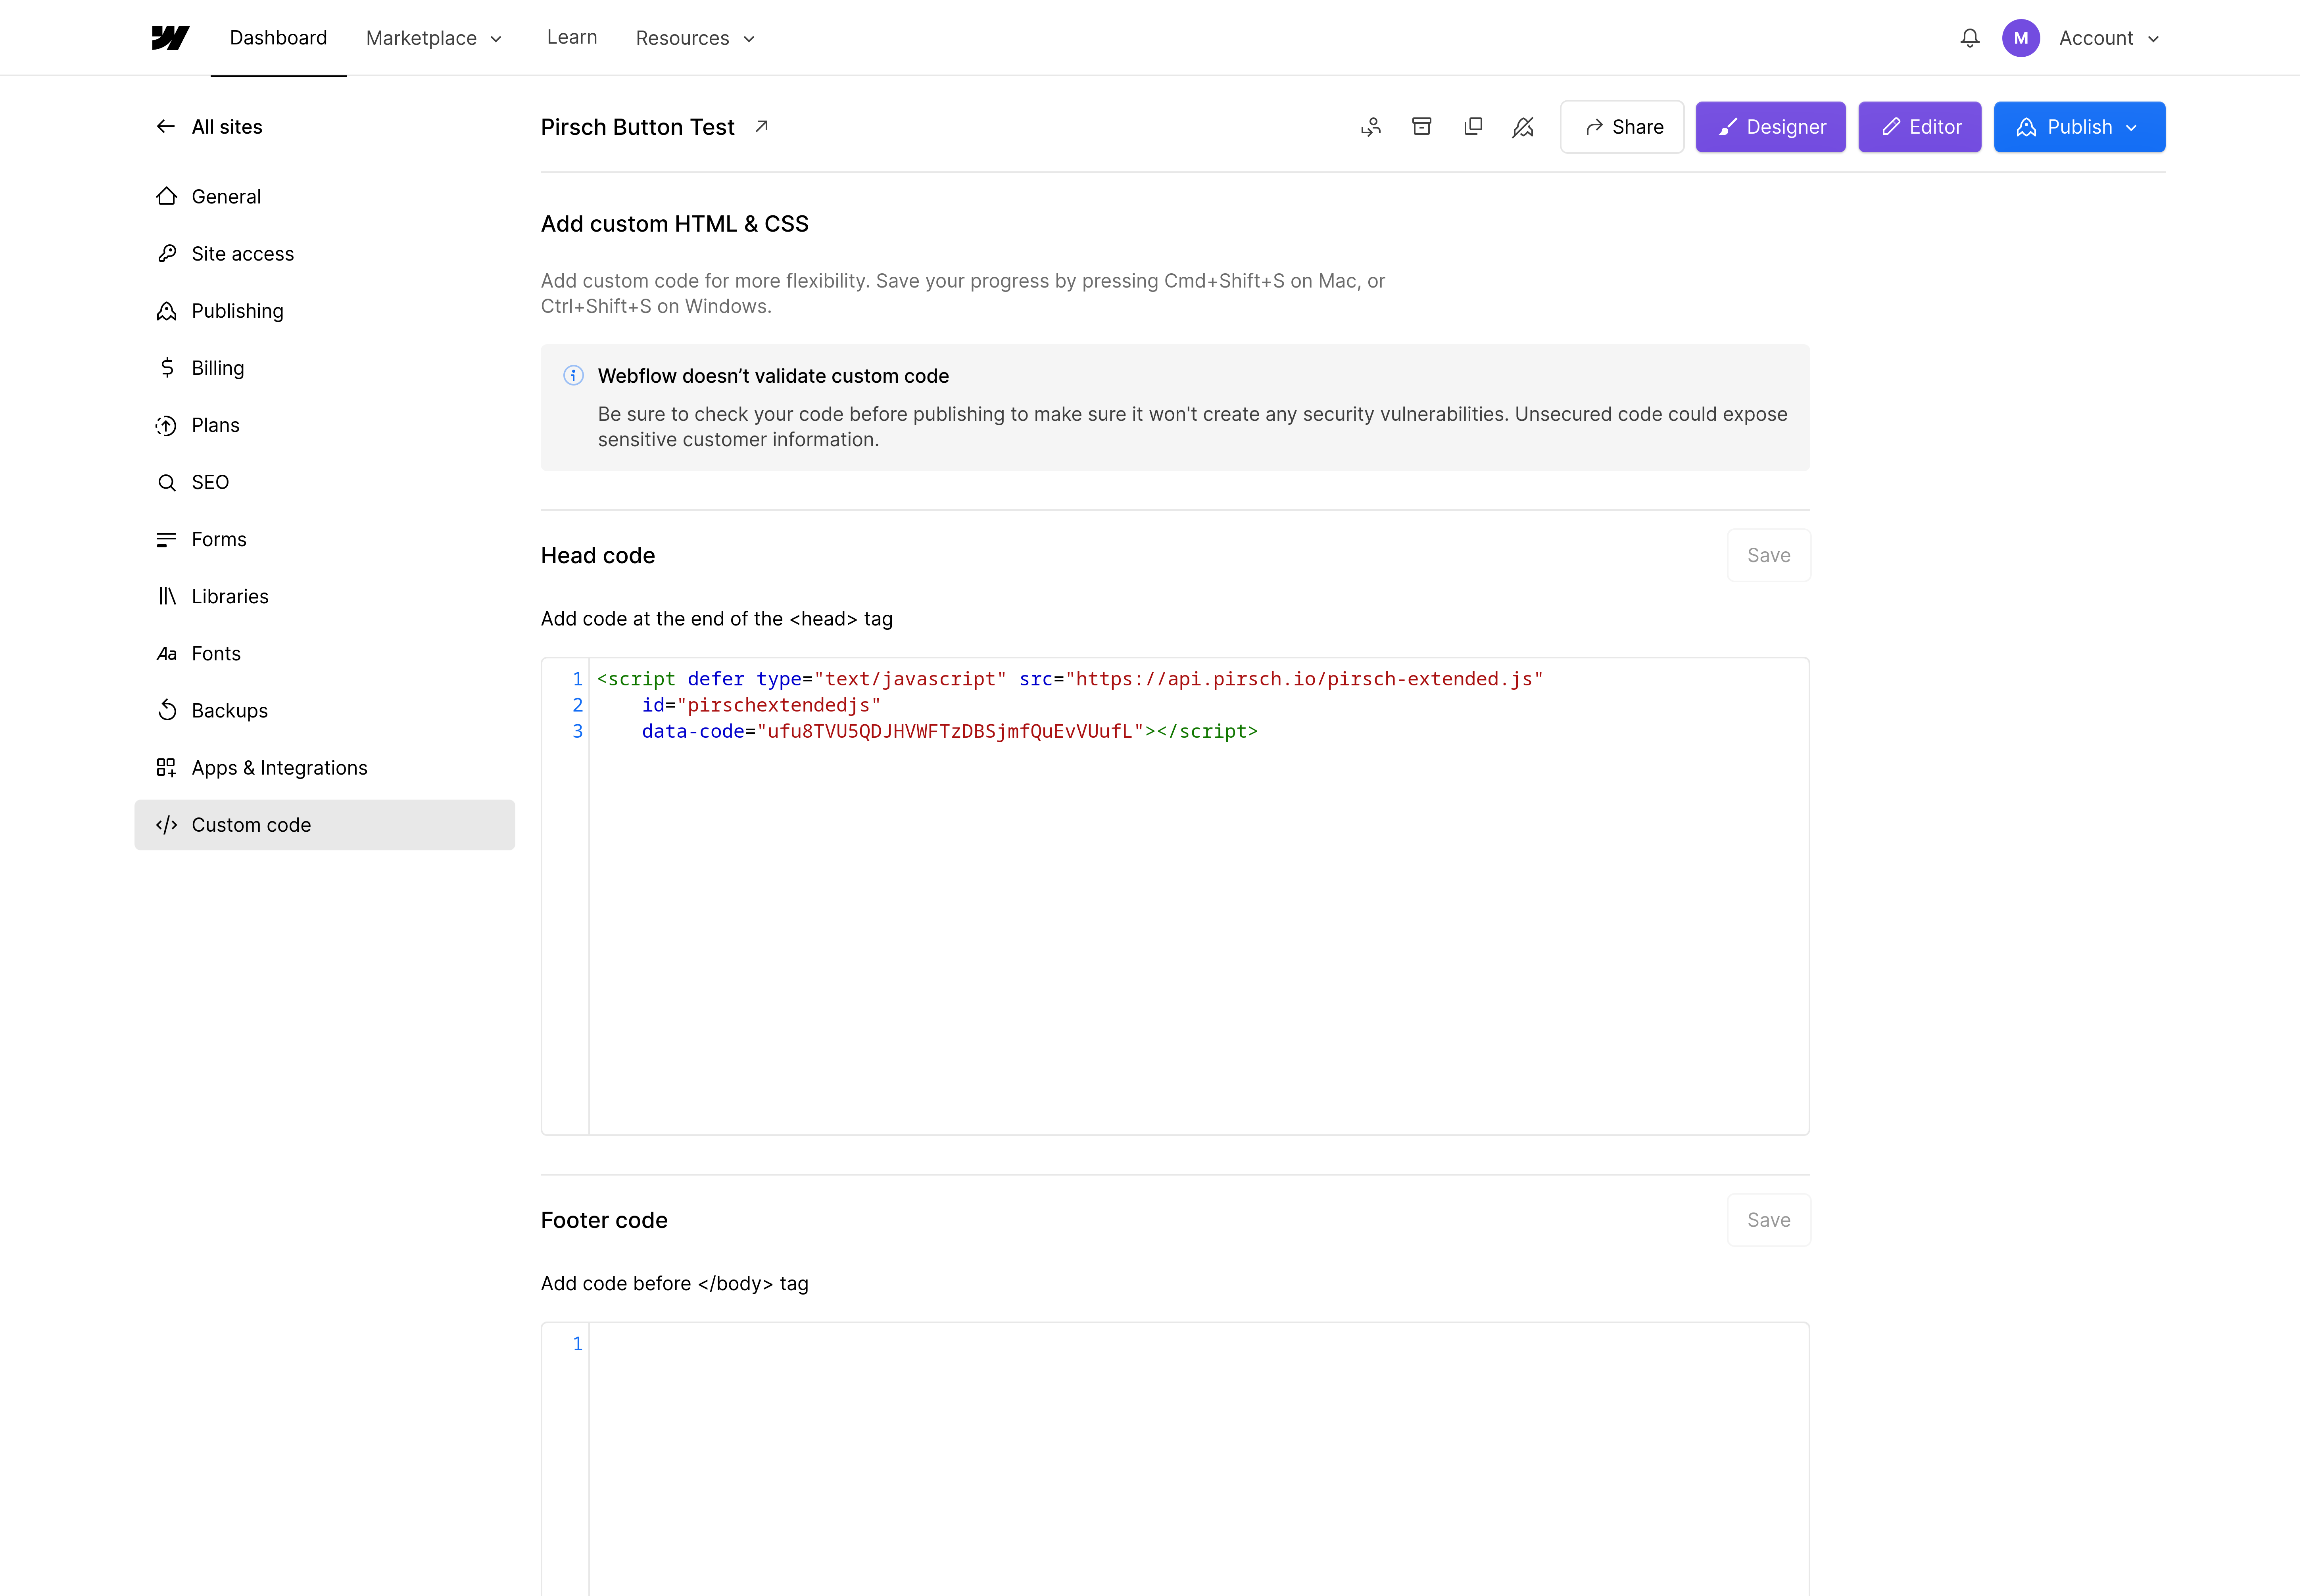
Paste your Pirsch snippet into the Head code section.
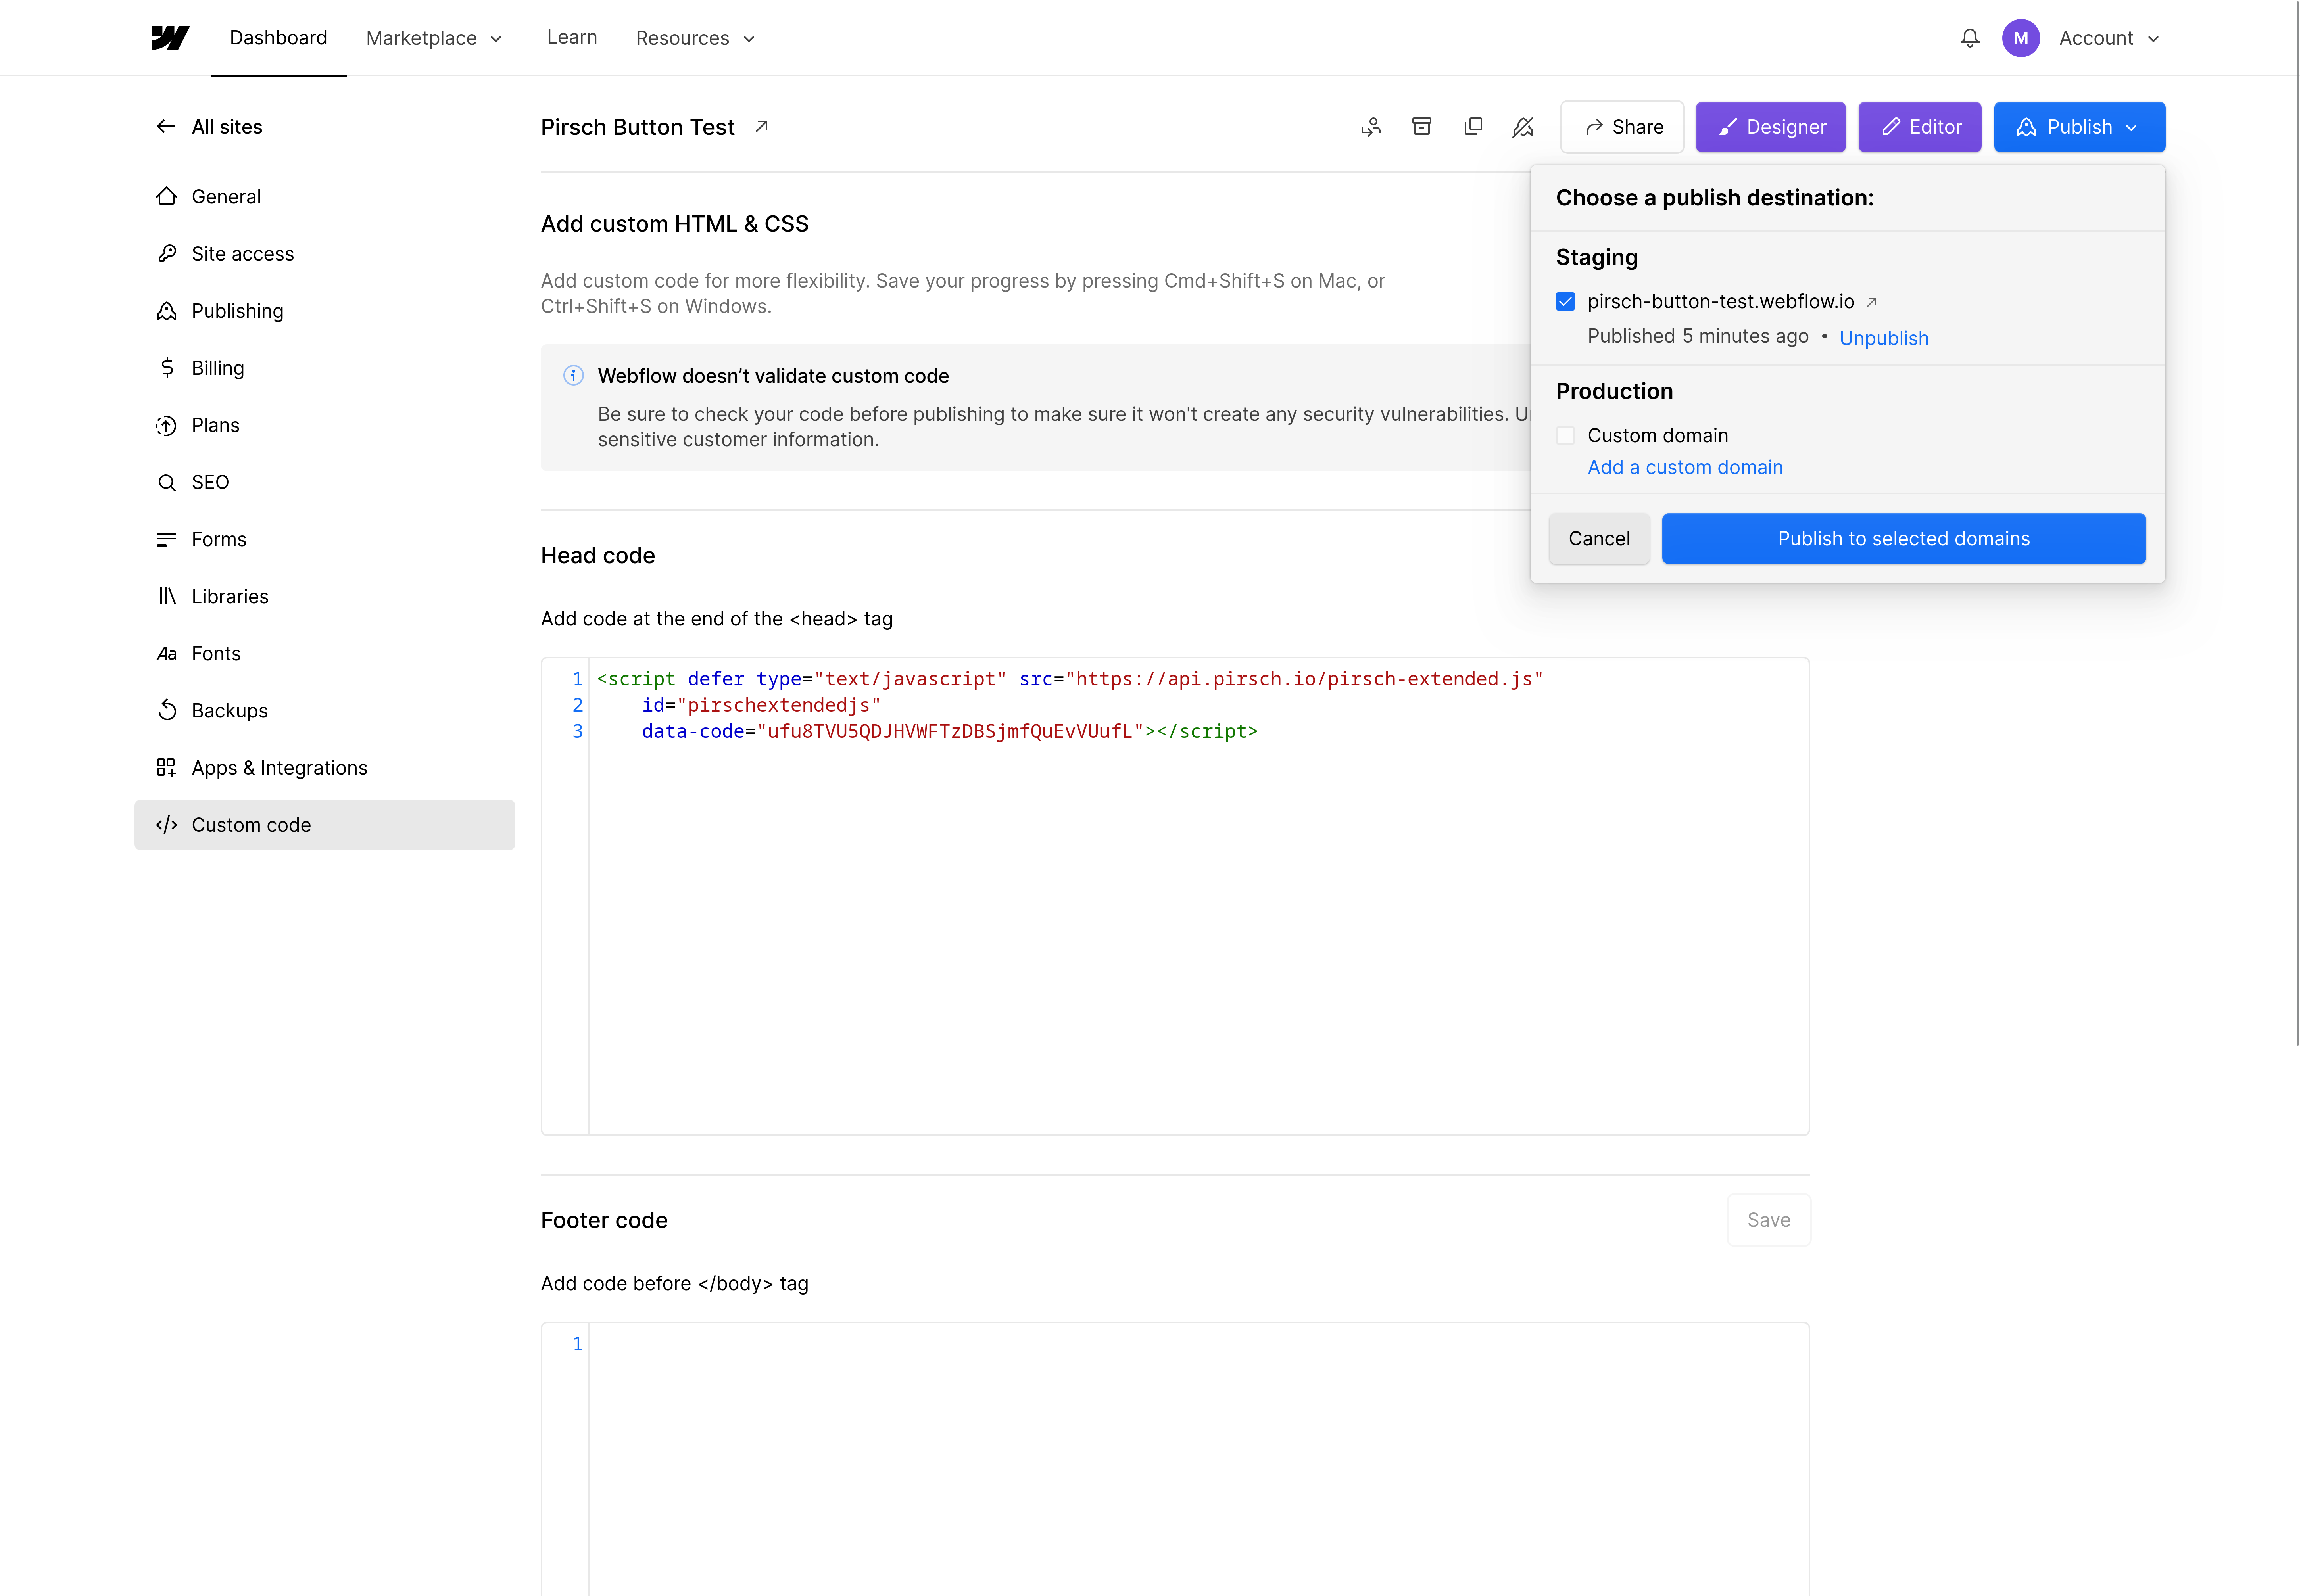
The final step is to publish your changes. You can do this from the Designer or from the Dashboard in the top right menu.
Tracking Custom Events
There are a few options to track custom events in Webflow. For this demo, we'll use custom attributes. Custom attributes are simply HTML attributes added to specific elements.
To add an event when the button on the page is clicked. Select it in the Designer.
Click the Settings tab on the right and open the Custom attributes section.
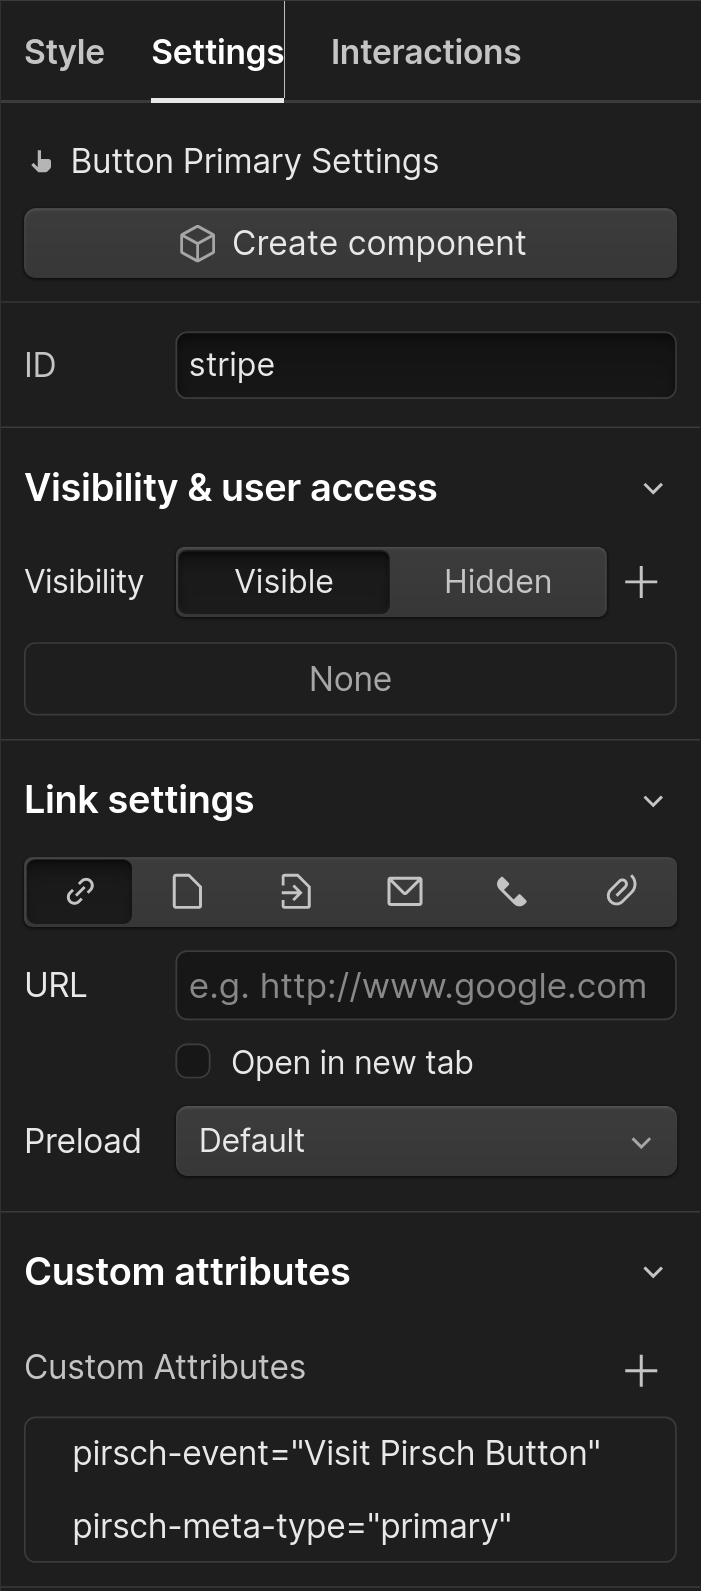
Click the + sign to add an attribute for the event name, and additional metadata attributes if needed. The event name must always be present, the metadata fields are optional. In this example we set the data-pirsch-event name to Visit Pirsch Button and add a metadata attribute with the name type and the value primary. Metadata attributes must have the prefix data-pirsch-meta-.
And that's it! After publishing the changes, clicking the button on the page after publishing the changes will now fire an event. For more advanced use cases, see the events article.
Analyzing the Data
Once you have integrated Pirsch into your Webflow site and published the changes, we will start collecting data. It may take a few minutes for the first page views and events to show up on your dashboard.
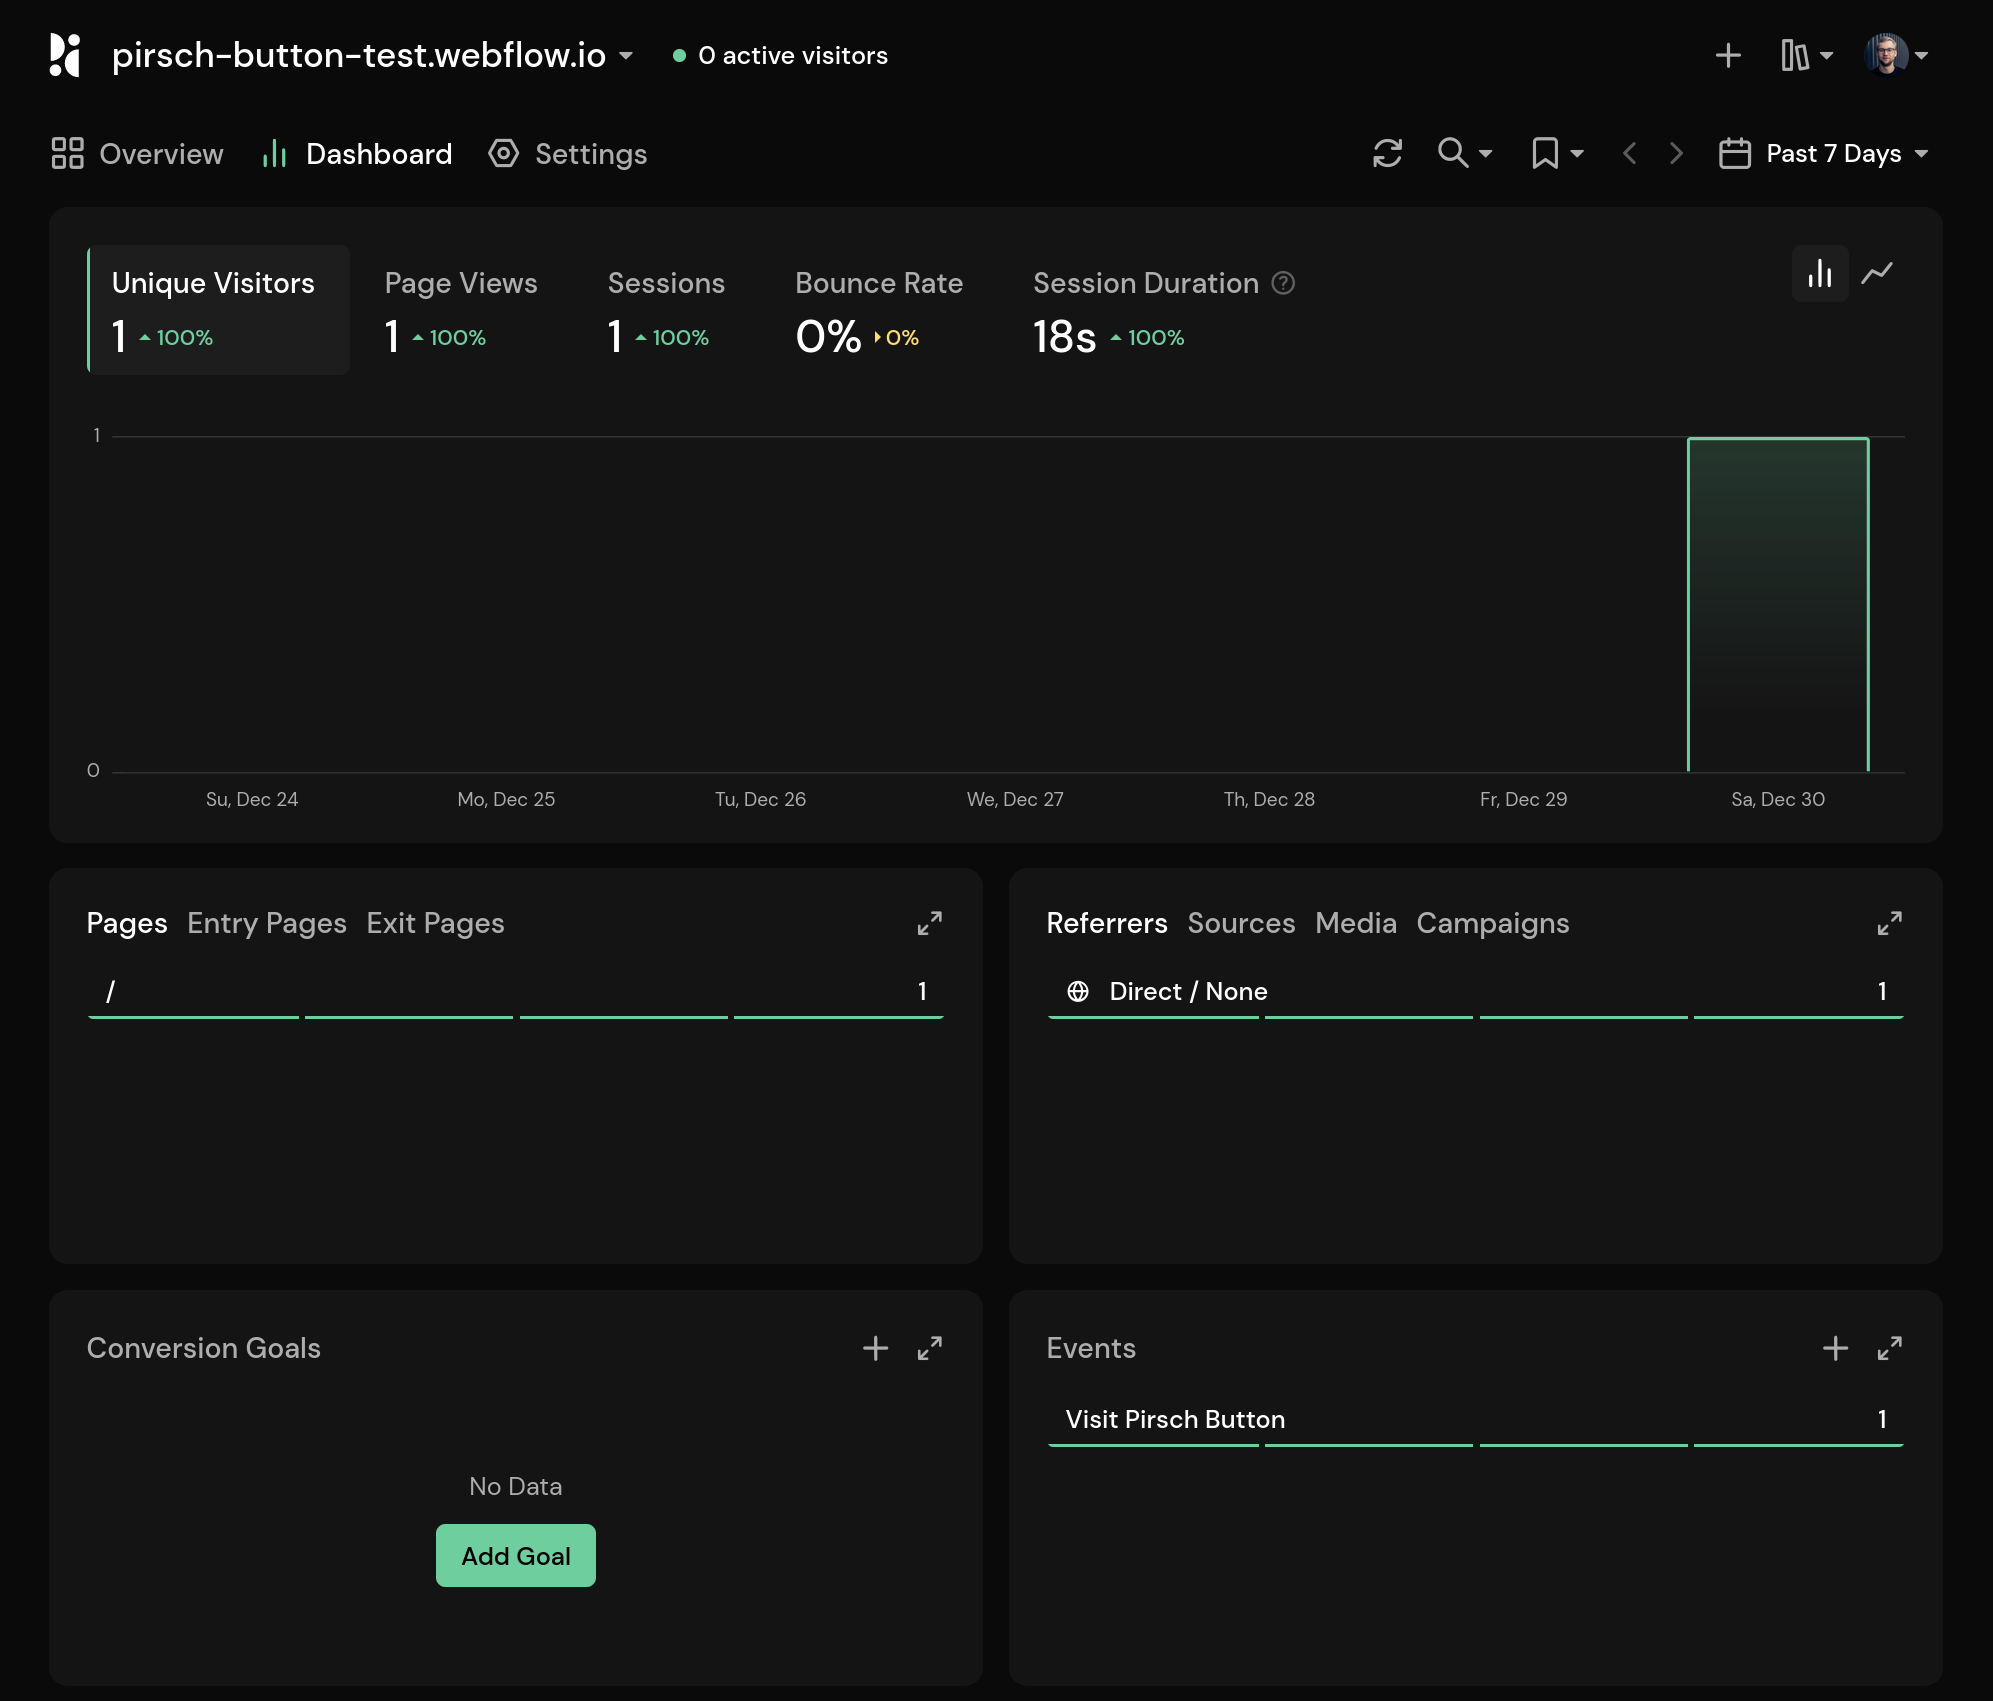
Here is what it will look like for our simple demo site.
The metadata for the button can be viewed in the Event Details dialog (click the Expand icon in the upper right corner of the panel).
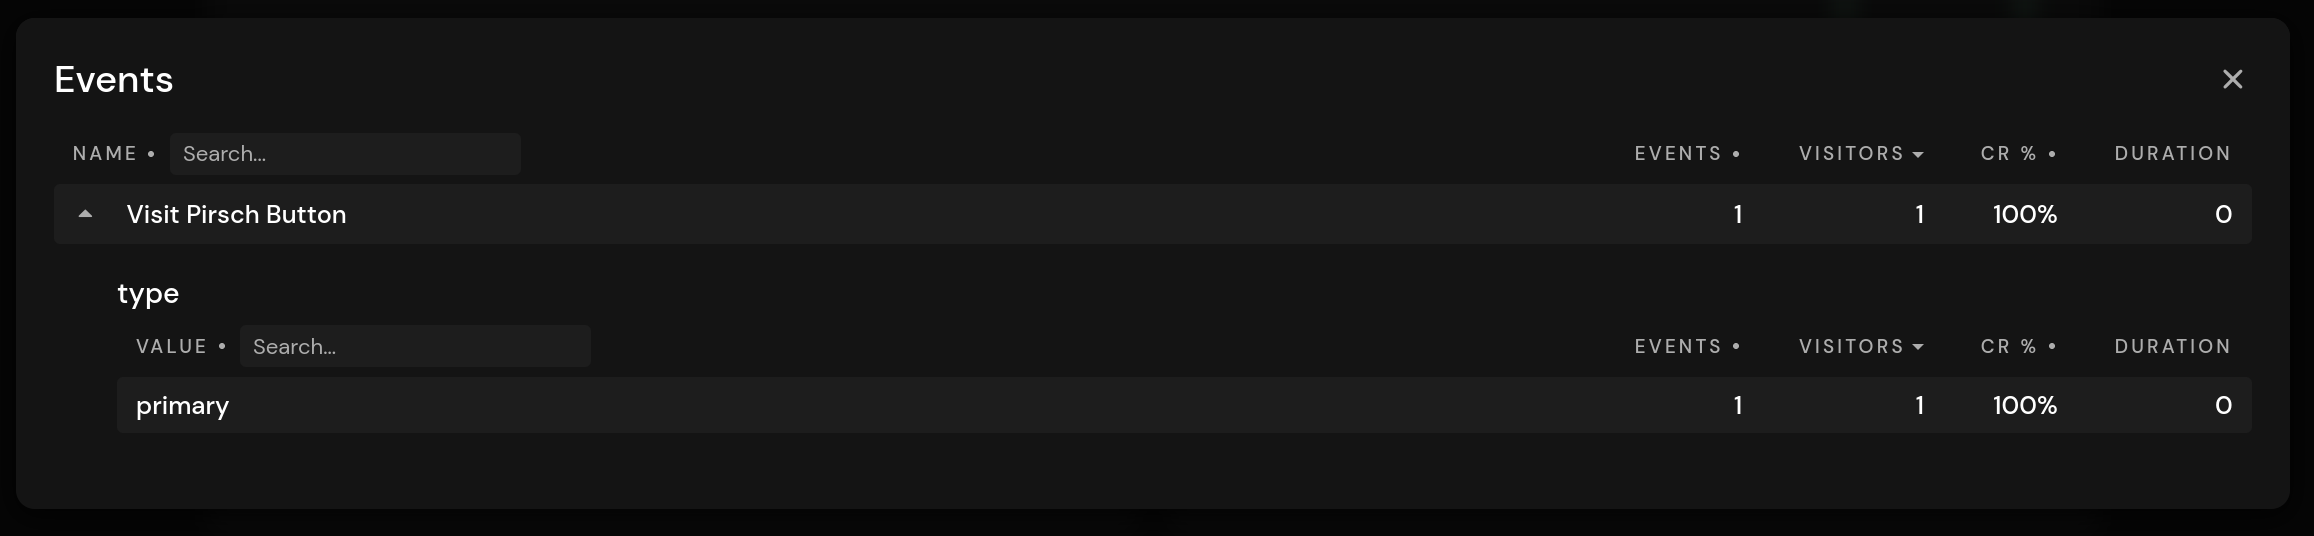
As you can see, the event will have the type set to primary.
Testing the Integration
Once you have added and published your custom code snippet, you can reload your website. To test that Pirsch is working as expected, you can open the browser's Network tab from the Developer Tools (usually Cmd/Ctrl + Shift + I or F12). You should see one request to load the script, one to view the page, and one when you click the button.
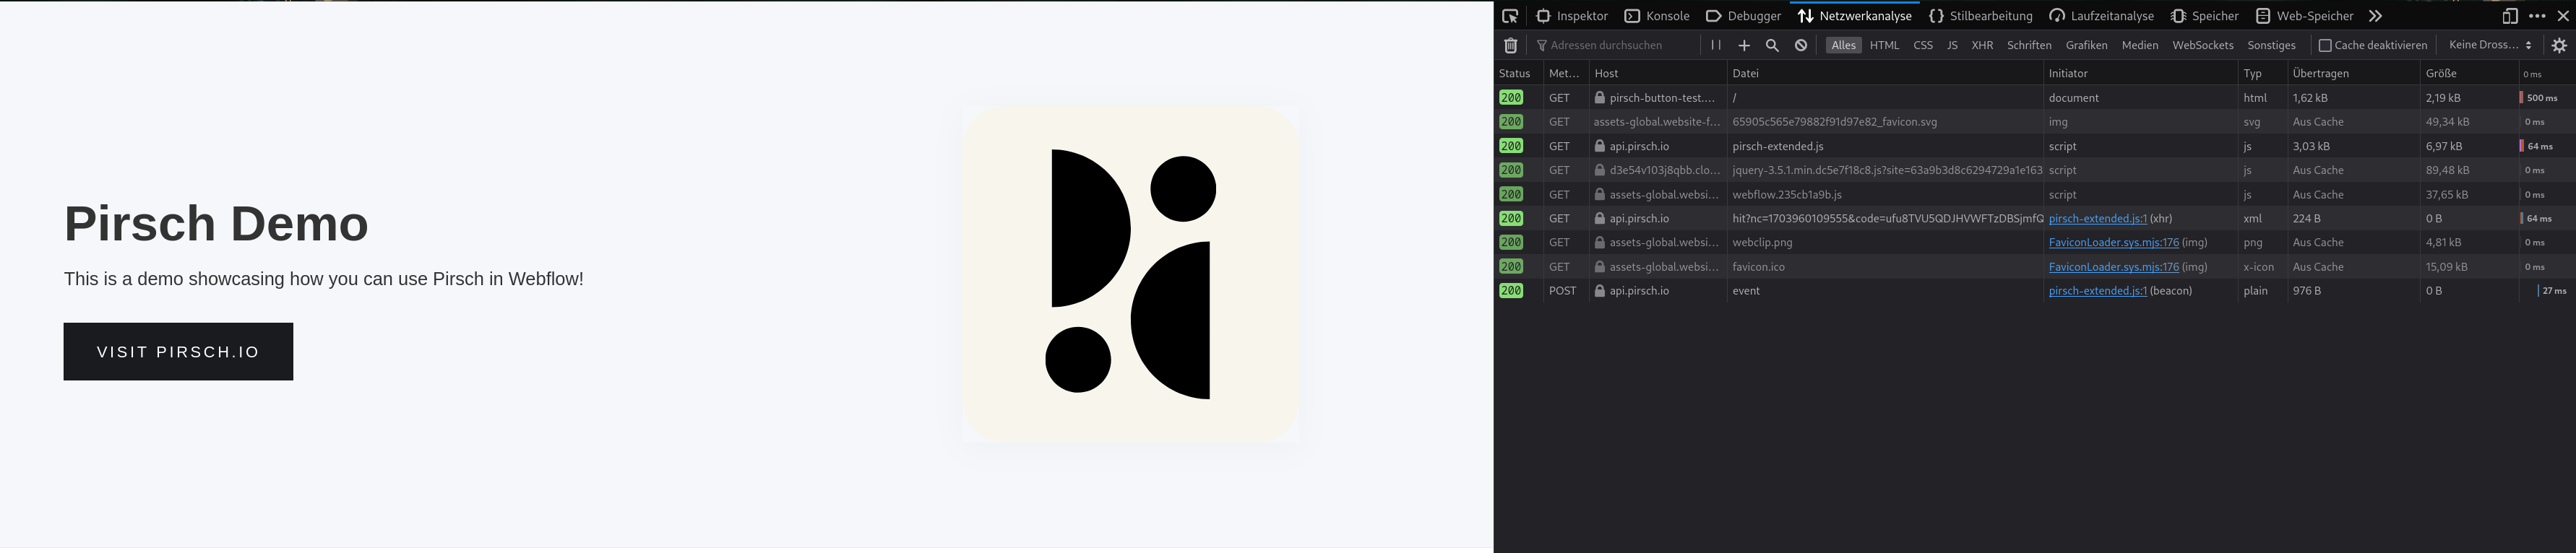
Here is an enlarged view of the network tab.
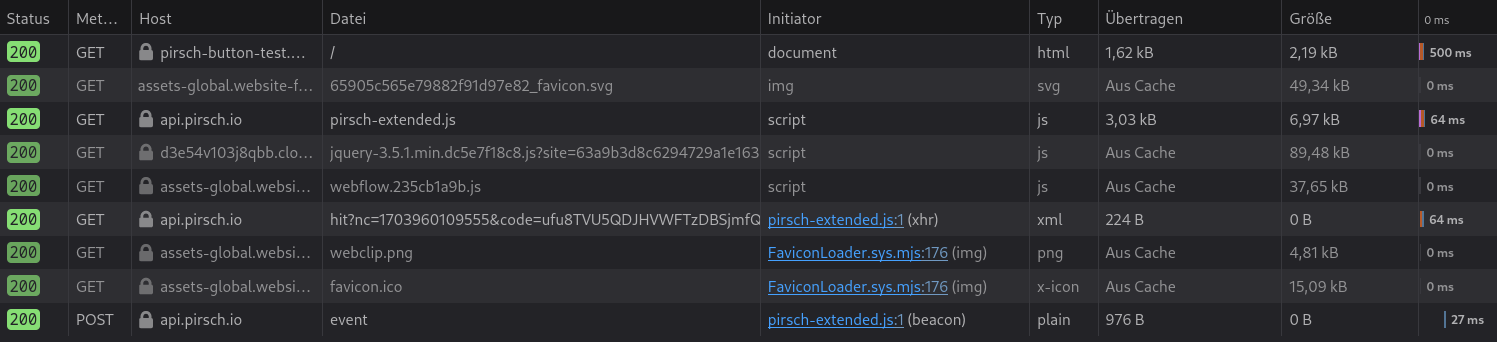
The first request loads the script. The second one tracks the page view. The last one is only displayed when you click on the button. All of them should show a status code of 200. If you select one, you can see the request and response data. For the event, this will be what you configured in the Designer.
Troubleshooting
Please also see the troubleshooting section for other common issues that are not specific to Webflow.
Pirsch Does Not Work With E-commerce Features Enabled
If the template has ecommerce features, Webflow seems to automatically check the "Use global site tag (required for ecommerce event tracking)" box in Integrations -> Google Analytics. This blocks Pirsch. The GA Site Tag field is locked in the "on" position. The user cannot turn it off.
To turn off the GA Site Tag field, first enter something in the Google Analytics tracking ID field. Now you can disable the GA Site Tag button. Delete the tracking ID/character you entered and save the changes. Pirsch should now work as expected.
You will need to add the UA code to the site tag in a typical UA code format. After you've checked the site tag box, be sure to delete the UA you entered. Otherwise, the code will remain live even if the button is turned off - so it needs to be deleted.